10 – Bodywork and Interior ( , )
The X300 bodywork and underbody are generally free from rust and other vices. The interior is also well put together and not prone to rattles and squeaks. To maintain this condition, care should be taken to ensure cable runs and fittings are correctly reinstalled and any tie-wraps or other fixings replaced before reassembly is completed.
10.1 – Access to Centre-Console – Ski-Slope Removal ( , )
|
|

Open the ashtray, remove the lighter and internal bin and undo the two screws at the rear. Remove the ashtray itself, disconnecting the electrical connection to the lighter as you do so.
Feel into the hole and forward under the centre wooden trim. There are two nylon wing-nuts, upside-down, holding the wood in position. Undo them.
Remove the plastic transmission selector surround by squeezing gently on the sides to release the clip fixings – two on each side. Lift the plastic and disconnect the Sport/Normal switch wiring.
Remove the chrome / leather selector surround, again by squeezing gently. This time the fixings are at the front left, front right and rear middle of the surround and it is often best to start with the one at the rear. It can be a little tricky and frustrating, but it will finally release so try not to force it.
From the back, ease the main wooden trim panel upward so that the bolts clear their mountings and then withdraw it backwards and away.
You can now access the climate control unit, clock and radio units. Removal is simply a matter of undoing the six fixing screws and pulling the unit forward. Take care not to stretch or force any wiring. Refiting is equally simple, but take care not to trap wires or loosen any other connectors.
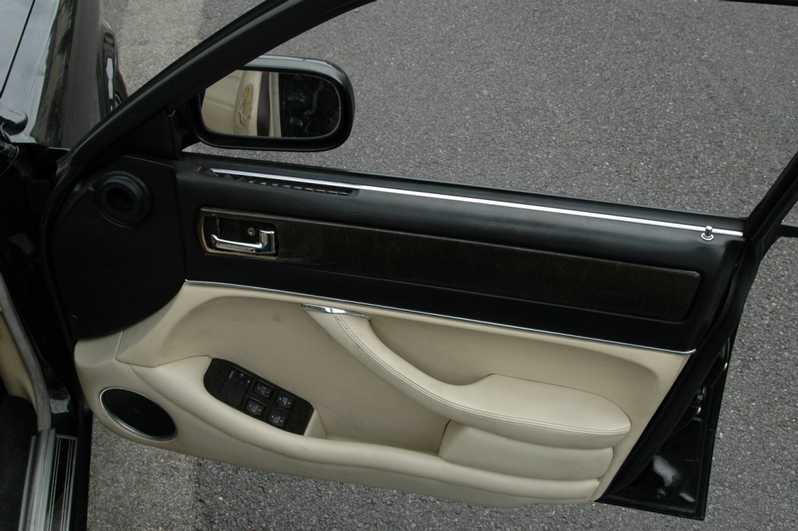
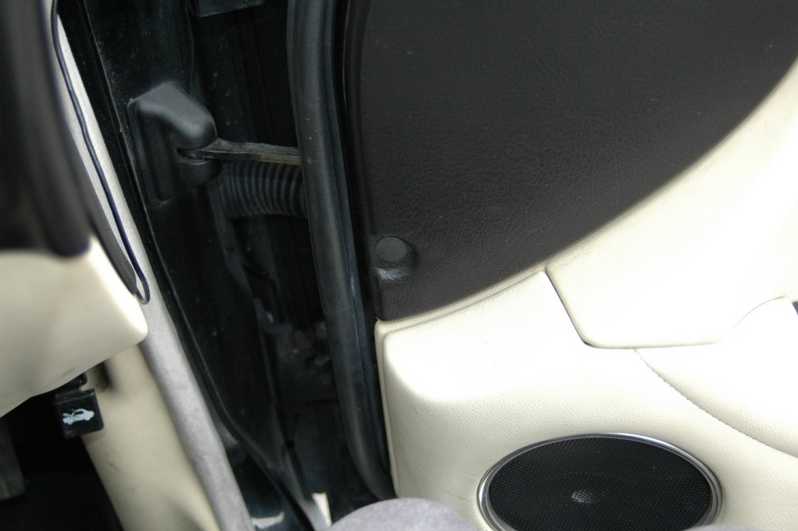
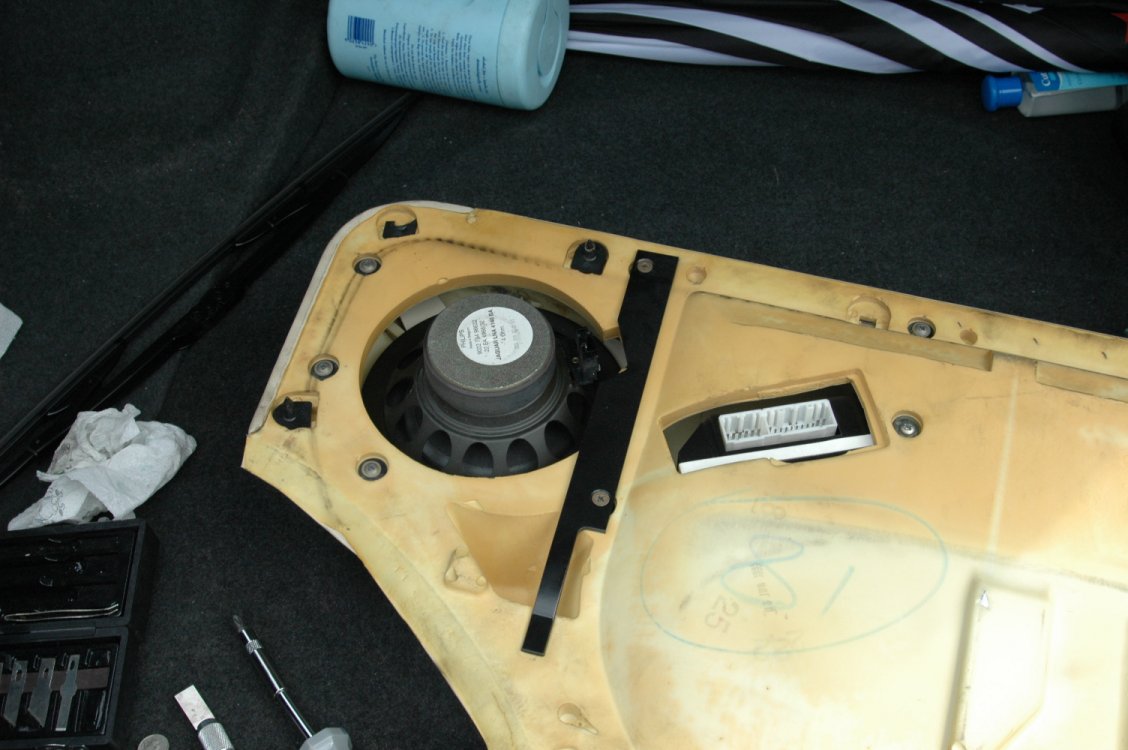
10.2 – Doors ( , )
10.2.1 – Loose Wing Mirrors ( , )
Gently prise off the plastic cover on the bottom of the hinge and use a long Philips head screwdriver to tighten the three screws. If the problem reoccurs, try Loctite or something similar to hold the screws tight, or alternatively fit a slightly fatter screw.
10.2.2 – Changing the electronic window/mirror control ( Olly, June 11, 2005 )
|
|